But don’t worry, you’ve come to the right place. We’ll walk you through the top ways to fix this DNS error, so you can get back to gaming as soon as possible.
Please note that all screenshots in this guide are from an Xbox Series S, but the steps apply to both Xbox One and Xbox Series consoles, although the exact menu labels may differ.
1. Check Your Internet Connection
The first thing to do when troubleshooting this error is to check your internet and network connection. Ensure your Xbox console is correctly connected to your wireless network or wired connection.
If you’re using WiFi, check the wireless settings on your console to ensure they are correctly configured. If using a wired connection, ensure the cable is properly plugged in. Try loading a web browser on another device connected to the same network to see if the internet connection works correctly or if the problem is specific to your Xbox.
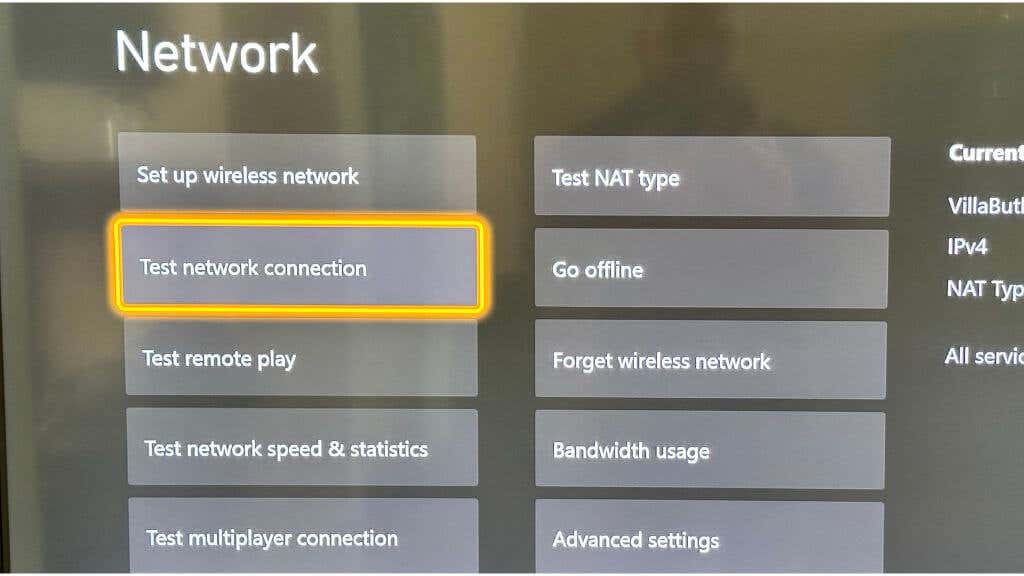
You can also use the built-in Xbox network connection test by going to Profile & System> Settings > General > Network settings > Test network connection.
2. Restart Your Modem and Router
If your internet connection seems to be operating as it should, the next suspect on the list might be your modem or router. These devices, though usually reliable, can occasionally trip up, causing network-related headaches such as the “DNS isn’t resolving Xbox server names” error.
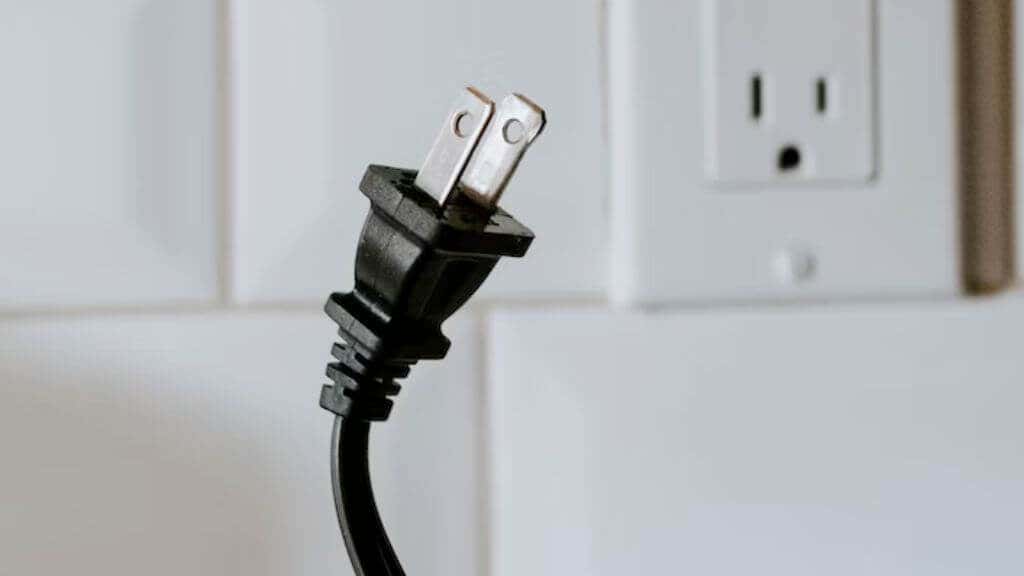
Firstly, locate your modem and router. They could be two separate devices, or you might have a two-in-one unit. Once located, unplug the power cable from each device.
Once unplugged, give them a bit of a breather. A minute should do the trick. This allows any temporary data (such as IP assignments and routing tables) stored in the device’s memory to be wiped, making way for a fresh start when power is restored.
After the minute has passed, plug the devices back in. As they boot up, they’ll go through their startup procedure, establishing a fresh connection with your ISP and reassigning network information.
3. Fix DNS Settings
If restarting your modem and router doesn’t work, you should check your DNS settings. The Domain Name System (DNS) is like an internet phone book that translates domain names to IP addresses. If your Xbox isn’t able to resolve Xbox server names, it could be due to incorrect DNS settings.
Go to your Xbox console’s settings, then to General > Network > Advanced Settings, and then DNS settings. Choose manual settings and enter the DNS addresses.
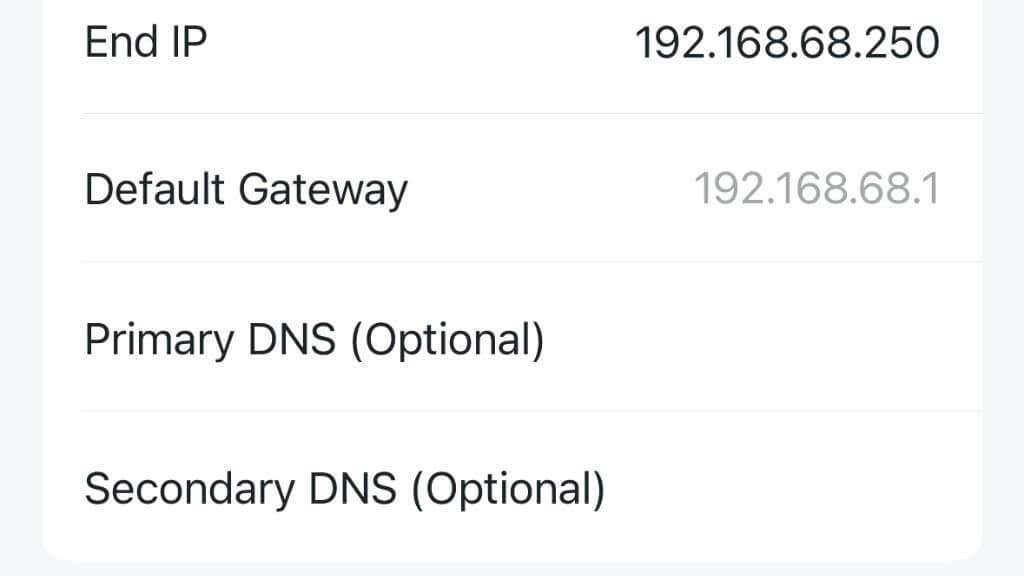
Make sure your primary DNS address and secondary DNS address are correctly set. If you are unsure what to set them to, you can use Google DNS, which is reliable and free. The primary Google DNS address is 8.8.8.8, and the secondary is 8.8.4.4.
You can use other DNS servers besides Google DNS, such as Cloudflare DNS (1.1.1.1 and 1.0.0.1) or OpenDNS (208.67.222.222 and 208.67.220.220). There are numerous free DNS servers to choose from.
4. Change Your Router’s DNS Settings
If you manually set DNS settings on your Xbox and it does not work, you might need to change the DNS settings on your router. To do this, you need to access your router’s configuration page. Open a web browser on a device connected to the router (e.g., Windows, Mac, or Android) and type in your router IP address. This address is usually something like “192.168.1.1” or “192.168.0.1”, often labeled as the “default gateway number,” but you can find the exact address in your router manual. Once on the configuration page, look for a DNS settings option. Like with the Xbox settings, you can set the primary DNS and secondary DNS to Google’s DNS if you’re unsure what to use. Remember that changing the router’s DNS settings might affect other devices on the network, so you should proceed with caution and make a note of the original settings in case you need to revert them. Note: Some modern routers also offer a mobile app you can use to change its settings instead of a web interface.
5. Update Your Router’s Channel Width
When it comes to a wireless connection, not all settings are created equal. While your router’s default settings might be optimal for general internet browsing or streaming videos, they might not fit your Xbox console’s needs best. This is particularly true when we talk about the WiFi channel width. In the world of WiFi, “channel width” refers to the range of frequencies a WiFi network can use. The wider the channel, the more data it can transmit at once, which sounds great. Well, it’s not quite that simple. While a larger channel width can theoretically provide faster speeds, it can also be more susceptible to interference and congestion, particularly in crowded areas with lots of competing devices in that frequency band. Xbox consoles can sometimes have issues with channel widths greater than 20MHz. So, how do you adjust your router’s channel width? First, you’ll need to access your router’s settings as we described above under point number four. Once you’ve logged into your router’s configuration page, you’ll need to find the WiFi settings. This can usually be found under a menu named “Wireless” or something similar. In the WiFi settings, look for an option named “Channel Width” or “Bandwidth.” You should see an option to change this to 20MHz. If it is currently set higher, adjust it down to 20MHz, then save the changes. Note: Some newer routers may no longer have this option, especially if you’re using mesh routers, which are much more advanced and dynamically manage channel width and operating frequency.
6. Clear Your Xbox Caches
If you were having DNS issues on a Windows computer, you”d simply open the Command Prompt type “ipconfig /flushdns” and press Enter. Unfortunately, an Xbox doesn’t have such a convenient way of shaking out problematic DNS data. Instead, we have to use somewhat crude workarounds to get a similar result. Sometimes called a “hard reset,” power cycling your console can clear its caches. Turn off your console and unplug it. Leave it unplugged for at least a few minutes, then plug it back in. While it’s off, press and hold the power button a few times. When you power it back on, your cache should be clear, and your console’s performance should feel snappier to boot!
7. Restore Default Settings
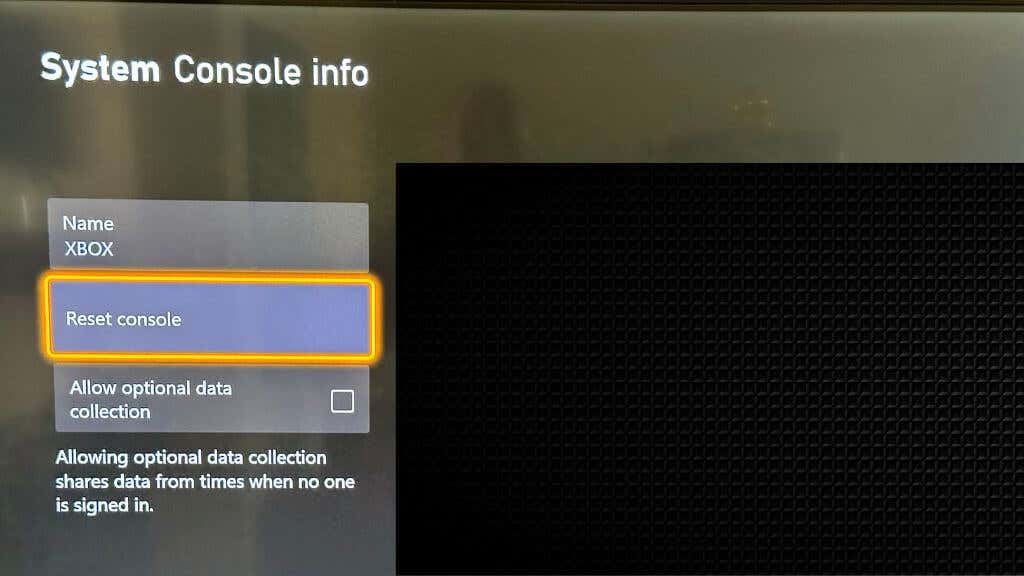
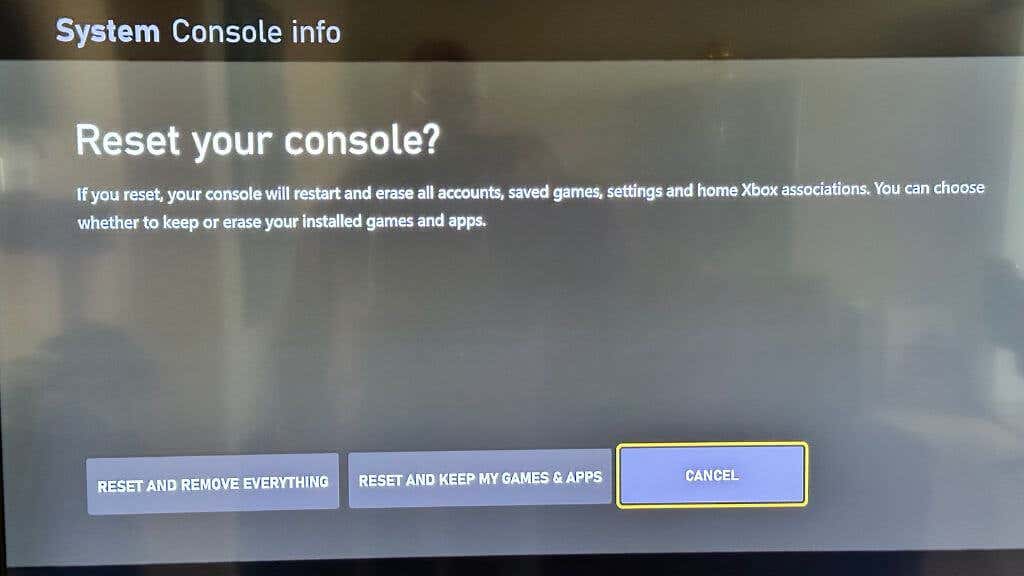
You can try restoring your console to its default settings as a last resort. This should be done with caution as it will delete all data and settings. It will, however, restore any network settings that may be causing the Xbox server names error back to their default values. To do this, navigate to the System > Console Info > Reset console. To confirm, select Reset and Remove Everything.
8. Contact Your ISP or Microsoft
If you’ve tried all of the above and you’re still getting the error, it might be time to call in the cavalry. Your ISP might be experiencing issues with their DNS server that they need to fix, or there could be a problem on Microsoft’s end with the Xbox servers. Either way, reaching out to your ISP or Microsoft could help you resolve the issue. The “DNS isn’t resolving Xbox server names” error can be a pain for any gamer, but as we’ve seen, you can try several methods to fix it. With patience and troubleshooting, you should resolve the issue and get back to your Xbox game in no time!
