In this article, you’ll learn ten essential tips for capturing videos with your new GoPro action camera.
1. Use the Best Resolution and Frame Rate
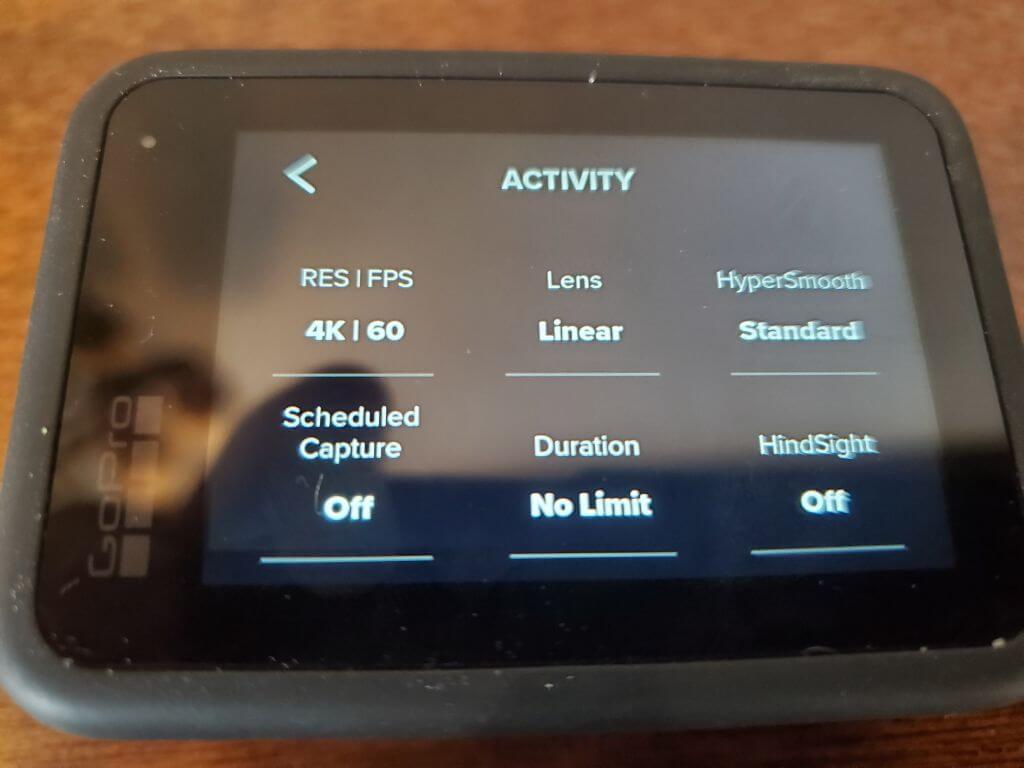
Choosing the correct resolution and framerate for your situation can be tricky unless you’re an expert photographer. The main issue that should influence your choice is what kind of videos you’re shooting with your GoPro Hero.
Resolution: The resolution is the number of pixels (individual dots of color) that get packed into each frame of your video. The highest resolution for years was 1080 (Full HD), or 1,080 pixels vertically and 1920 pixels horizontally. Today, 4K cameras can pack 2,160 pixels vertically and 3840 pixels horizontally. Higher resolution results in video with much more clarity.
Frame Rate: The frame rate is how many frames are captured every second you take a video. If objects are moving quickly in front of the camera, a higher frame rate will ensure that there will be less blur during that activity.
You may think you’d just set the GoPro to the highest resolution and frame rate possible. Unfortunately, if you do this, your battery and storage card won’t last very long, and your videos will have to be very short.
Instead, choose the resolution and frame rate for the type of video you’re capturing.
Low motion activities like vlogging or walking: 1080p and 30 fps. Hiking, running or cycling: 2.7K and 60 fps. High motion sports, vehicle mounted, or drone mounted: 4K and 60 fps.
The settings above will conserve battery and storage on your camera. But if you still want higher resolution or motion clarity, you can increase the resolution and frame rate further and accept the storage and battery drain that comes with it.
2. Enable Stabilization and Move the GoPro Slowly
If you’re trying to conserve battery and storage with more moderate resolution and frame rate settings, you can compensate for this by trying to move the GoPro as little as possible.
For example, if you’re hiking or running, using a selfie stick and stabilizing the camera while you’re holding it will reduce motion and decrease the chance of video blur.
You can also use built-in stabilization in the GoPro settings to compensate for camera movement. This slightly increases battery usage, but the feature is well worth it.
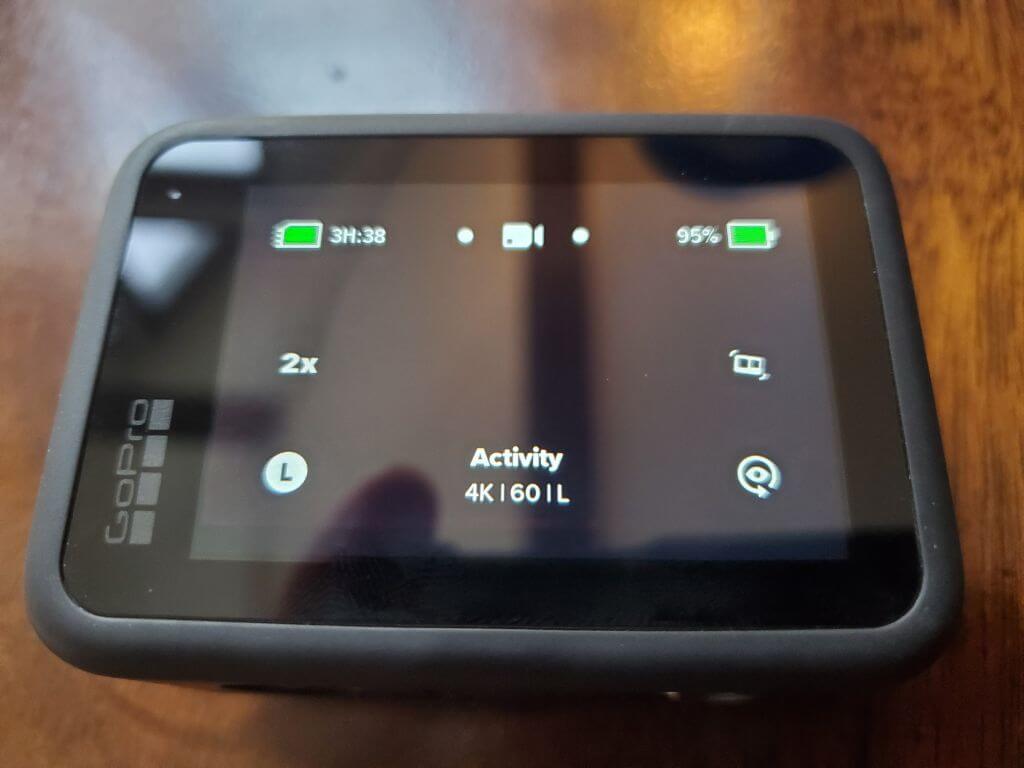
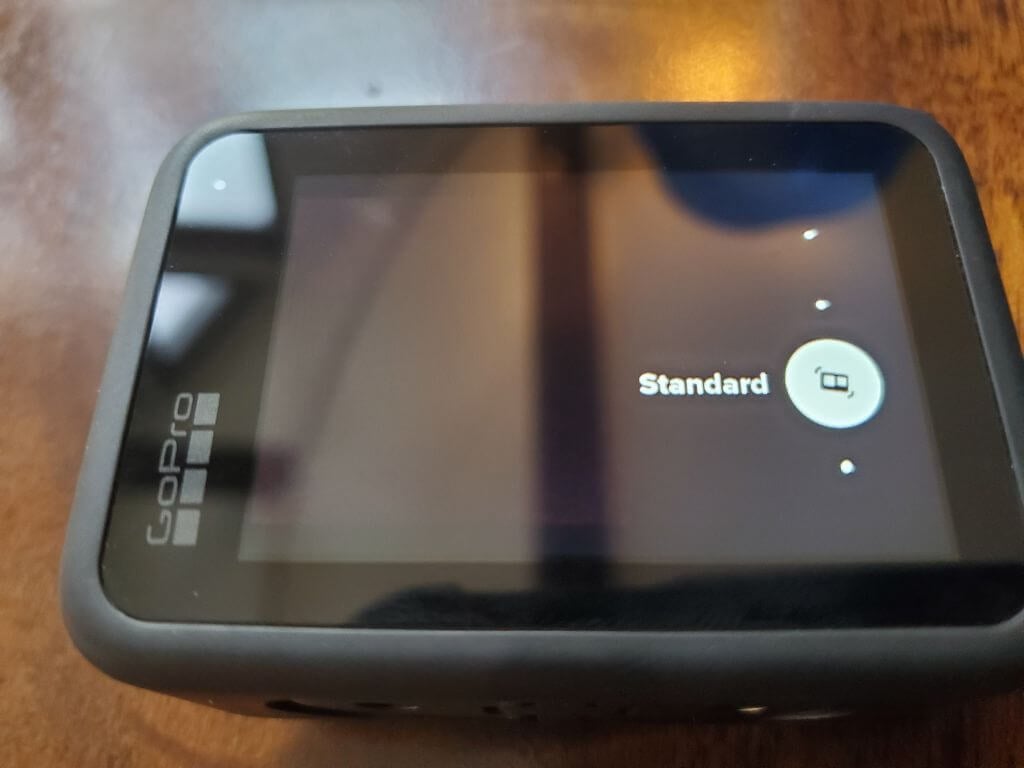
To enable stabilization, start your GoPro and tap the stabilization icon on the right side of the screen.
Use the slider on the right to select either Standard or High.
The highest stabilization setting will consume more battery, but High or Standard provide enough compensation for movement without depleting the battery too quickly.
3. Use a Tripod for Still Video Shots
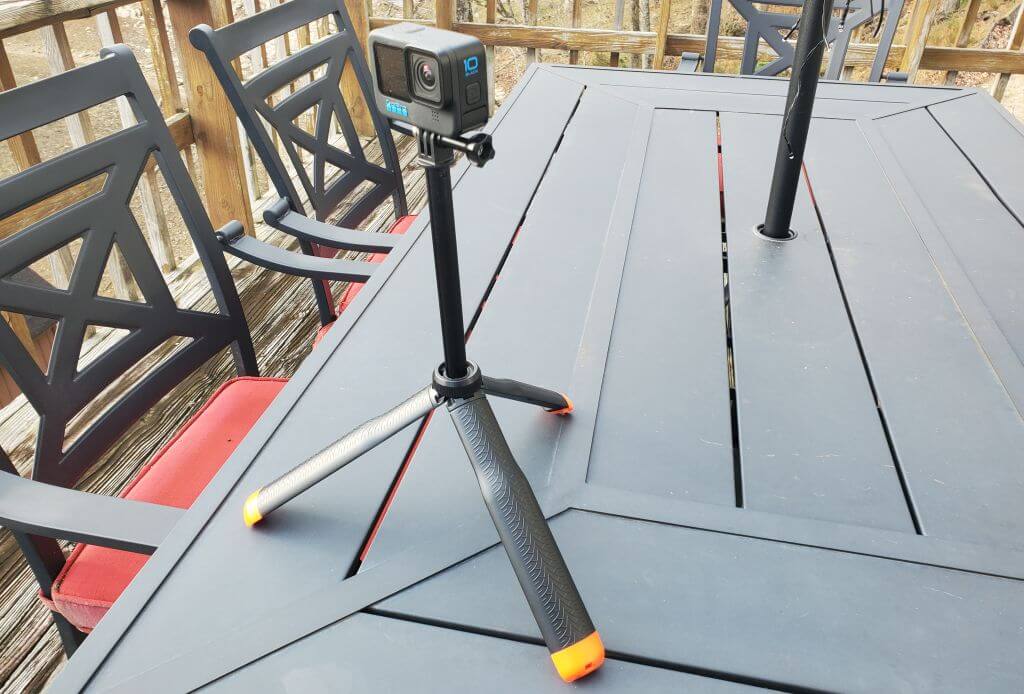
If you’re trying to capture a scene and you can’t get yourself to hold the camera still enough, even with stabilization on, a tripod can come in handy.
Many selfie sticks double as a tripod, so you don’t have to carry more accessories. Set up the tripod on the ground or other surfaces and capture the video for 10 to 15 seconds.
You’ll find that a tripod allows the camera to stay perfectly still and capture the clearest frames and resolution throughout the still scene video clip.
4. Choose the Right Accessory for the Job
Head and chest straps: Great for hands-free exploring Wrist strap: Use your arm to position your camera at any angle Floating handle: Use your GoPro safely while swimming or snorkeling Handlebar mount: Perfect for biking or attaching to an external bar on your vehicle Suction cup: Stick your GoPro to any hard surface for quick still video capture Tripod: Good for capturing any video where the camera needs to stay as still as possible Selfie Stick: The most versatile solution for positioning the camera at any angle with your hand, or to record yourself
The mount you choose depends heavily on the activity that you’re trying to record. If you choose the right mount, you’re sure to capture the perfect scene.
5. Use a Media Mod With Wireless Microphones
Another downside of the GoPro is that the onboard microphone system isn’t the greatest. You need to be close to the GoPro for your voice to be loud and clear. Even then, you may find that you have to adjust the microphone volume in post-processing just to make sure viewers can hear you.
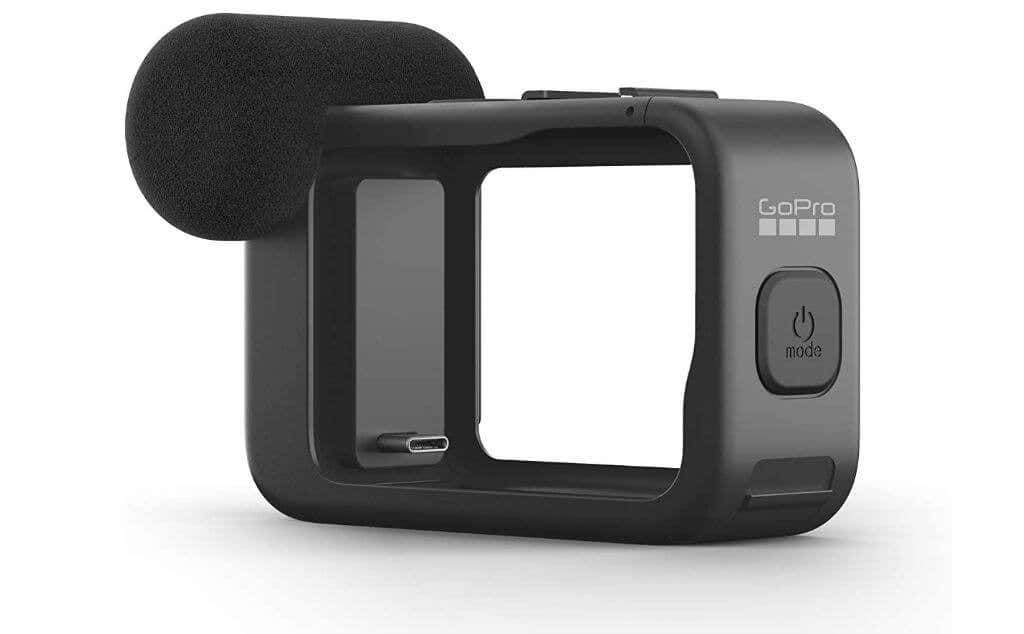
Thankfully, GoPro offers a valuable hardware add-on called a GoPro media mod.
The media mod is a frame that mounts around your camera and plugs directly into the side port. It has a directional microphone that reduces ambient noise (like wind) and boosts your voice’s clarity.
There are a couple of cold-shoe mounts where you can attach lights or (and we recommend this) a wireless microphone transmitter for the highest quality voice recording. There’s a 3.5mm microphone port to plug in this external microphone setup.
If you do a lot of vlogging, purchasing this mod will improve your video quality immensely and help grow your channel subscription count.
6. Beware Low-Light Situations
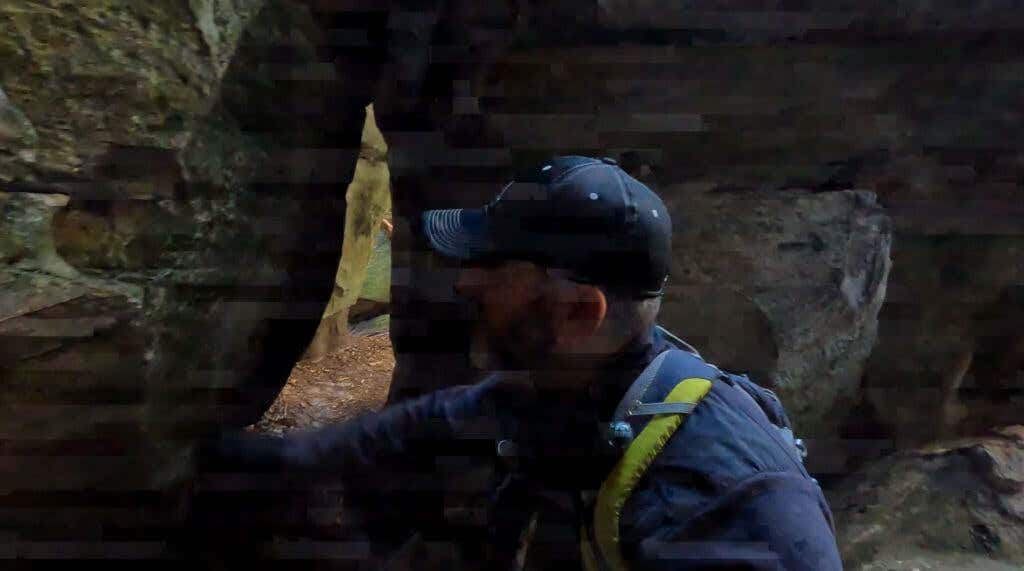
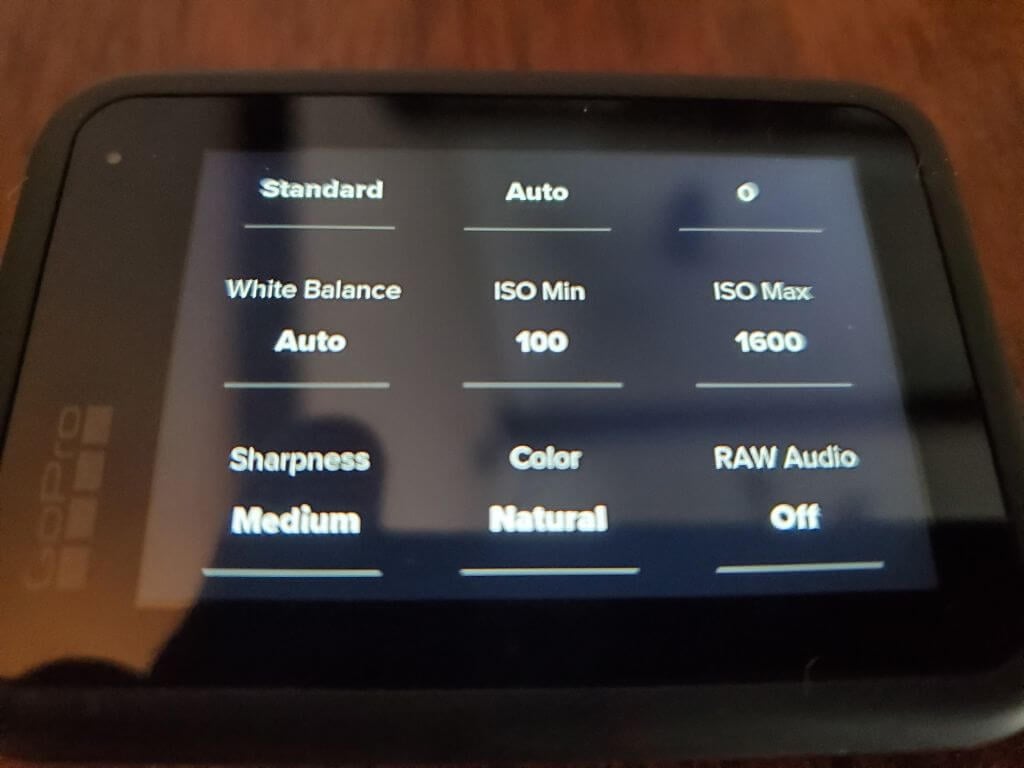
One of the noticeable weaknesses of the GoPro camera is that it doesn’t perform very well under low-light conditions. You’ll occasionally see white streaks flickering across the scene in low-light scenes. If you have expert knowledge of camera settings, it’s possible to adjust ISO settings to reduce these visual artifacts manually. However, these need to be changed every time you shoot under low light. A faster solution is to set up better lighting in your shooting area. You can use one of the cold-shoe mounts on the media mod mentioned above to mount a light to your camera.
7. Configure Settings to Conserve Battery
It’s easy to consume a lot of battery power when using a GoPro camera. As mentioned in the previous section about resolution and frame rate, if you set your camera to the highest quality settings, your battery will not last very long. The following are settings you can adjust to prolong your GoPro’s battery life:
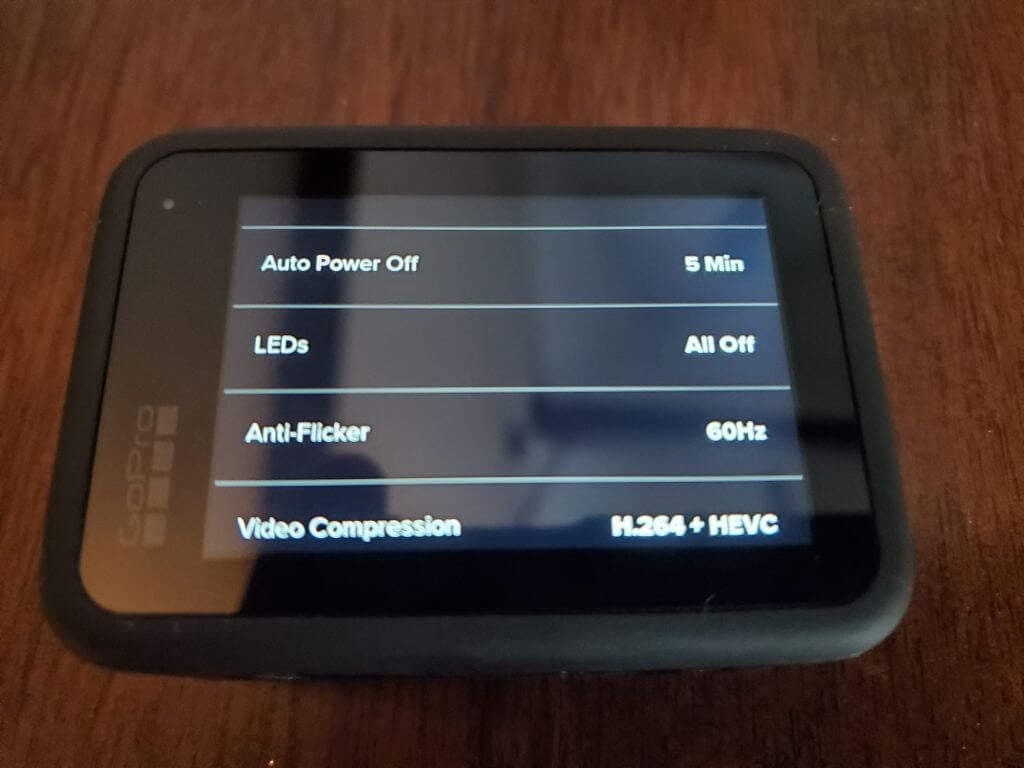
Lower resolution and frame rate Switch stability (HyperSmooth) to Standard Set LEDs setting in Preferences to All Off Lower Auto Power Off setting to 5 Min or less Lower Screen Saver Rear to 1 Min Set Front Screen Options to Status Only
Many of these settings have little to no impact on the overall quality of your video, and adjusting them will keep your battery working much longer than expected.
8. Film Very Short Scenes
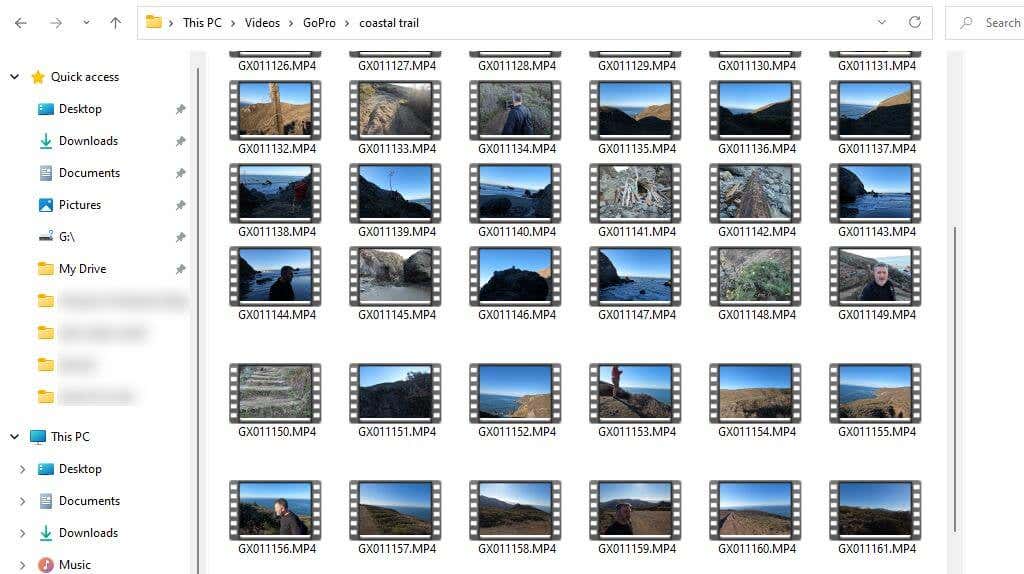
Even with adjusted settings to save battery power and MicroSD card space, GoPro videos consume a lot of resources. Also, longer video clips take a lot more work to edit during post processing. A far more efficient way to make videos from GoPro clips is to make those clips shorter. Here are some tips on how to do this:
Create a script for your entire video and organize it into scenes Carefully plan out your scene before starting your GoPro camera Set up your GoPro on a tripod (if you’re using one) before you start the camera Start recording and immediately go through your scene as planned Provide enough buffer video (such as smiling when you’re done talking) to allow you to blend with the next scene or fade out.
By recording clean and short scenes with your GoPro, you can significantly reduce the time it takes to produce your final, polished video.
9. Sync Your Scenes with Your Music
If you’re trying to produce high quality videos with your GoPro, you’ll want to enhance them with music when appropriate. The best subscription services for downloading copyright-free music you can use in your videos are Soundstripe and Epidemic Sound.
Adding music to your scenes gives the video a more cinematic and emotional feel. However, it’s essential to blend music into your videos properly.
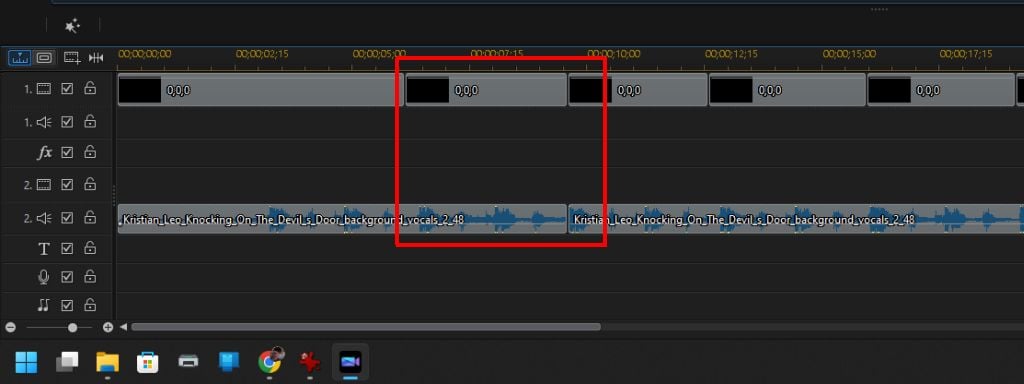
The secret to doing this well is aligning the beat pattern with your scene transitions.
Identify the time it takes for lyrics to transition naturally, and align your scene transitions with those lyrical transitions. Usually, you can use the equally spaced beat pattern in the song track to align your scene transitions.
10. Don’t Attempt Close-Up Shots
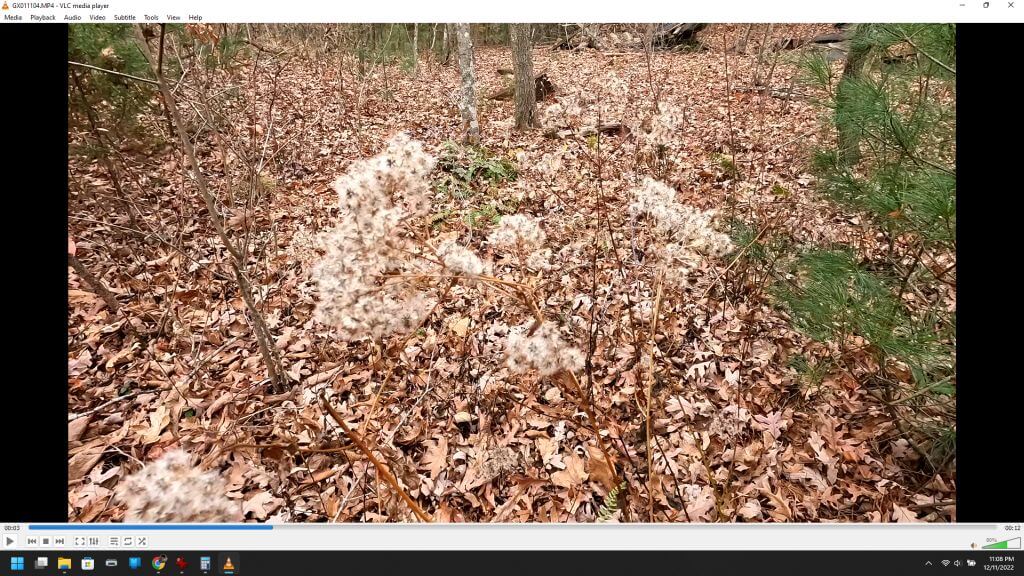
One more weakness of the GoPro is that it isn’t the greatest when focusing on close objects. If you have visions of taking beautiful macro videography (close-ups of small objects), the GoPro camera isn’t the right option. The GoPro camera is designed for action, motion, and cinematographic scenery. But placing the camera lens too close to something like a flower or insect will create a blurry object. You can still take scenes fairly close to objects, but they will only focus if you keep the camera at least 4 or 5 inches away.
Create Fantastic Videos With Your GoPro
As you can see, a lot of things go into making sure your final videos are high quality. However, there are some compromises you have to make to conserve battery life and storage space.
Following the tips above, you can enjoy the best of both worlds. You can get the most out of your camera’s battery life and storage space but also produce very high quality videos that your viewers will love.
