Whether you’re a gamer, content creator, or data analyst, this guide will show you how to setup dual monitors in Windows operating system.
Setup Dual Monitors On Windows 10
Connect using cablesUse a docking stationUsing a casting device
Windows 10 has various features and settings that support multiple monitors without having to use third-party apps, and using familiar commands as those in Windows 7. Whether you want to setup dual monitors to your desktop or workstation, or an external display to your laptop, use the steps below to set it up.
Connect Using Cables
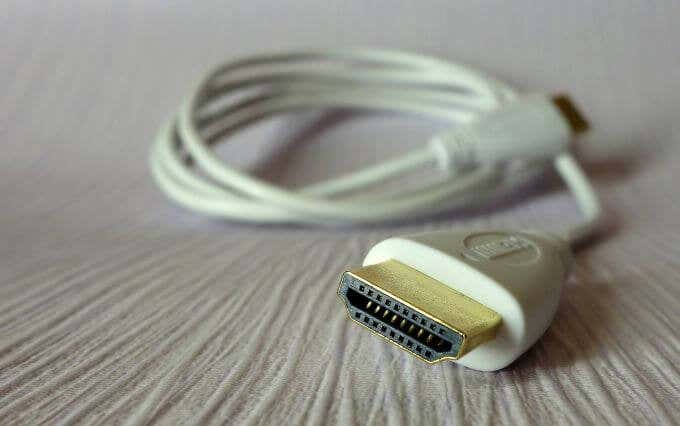
Before you configure the dual monitor setup, make sure you have all the cables you need to connect your PC and monitor. Look at the types of ports you have on your computer, either on the sides or at the back depending on your PC. These include the video signal using HDMI, VGA, DVI, or DisplayPort, and the connecting power cables. Do the same for your monitor, and if you’re not sure, check its make and model if you’re to know how to connect the display. You can find the ports at the back or underside of the monitor. Note: The video connection on your PC must match that of your monitor. If your PC only has the DVI connection and your monitor doesn’t have one, you can use a converter cable or special adapter. The most popular and widely used supported type of display connection is HDMI. You’ll find it on almost all TVs and most computer monitors, which have at least one of this type of port, so it shouldn’t be difficult to find an HDMI cable. Similarly, HDMI ports come in different types including the mini and micro HDMI for smaller devices, or the standard HDMI port. However, older computers may have VGA or DVI ports, which rely on metal pins on their cable to connect to your PC. Newer monitors lack support for these types of connections, but you could try to convert from DVI to HDMI though. DisplayPort isn’t as common as HDMI, but higher end laptops, relatively recent computer monitors and dedicated graphics cards may have this kind of connection. There’s also the USB-C connection on newer Android smartphones and recent MacBooks, and you can use this type with a monitor that supports USB-C input. Alternatively, you can get a cable with USB-C to HDMI/DisplayPort connections. Plug the cable that matches both your PC and monitor, connect the power cable to a power outlet, and turn on the monitor.
Configure The Display
The next step is to configure your presentation display. To do this, you’re going to duplicate or extend the desktop display with your second monitor so that Windows can recognize and use the monitor. In most cases, Windows automatically detects and configures the monitor without your input, but take the steps below to perform the configuration.
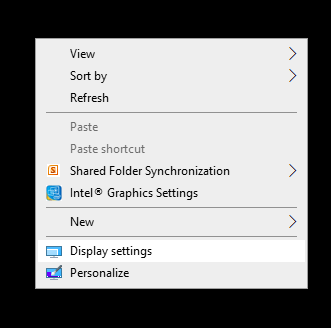
Go to your PC’s desktop and right-click on any empty space. Select Display Settings.
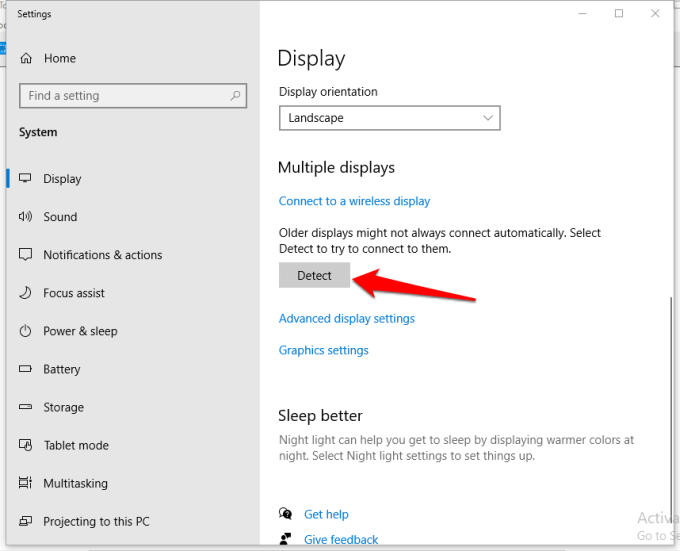
Scroll down to Multiple Displays and click Detect.
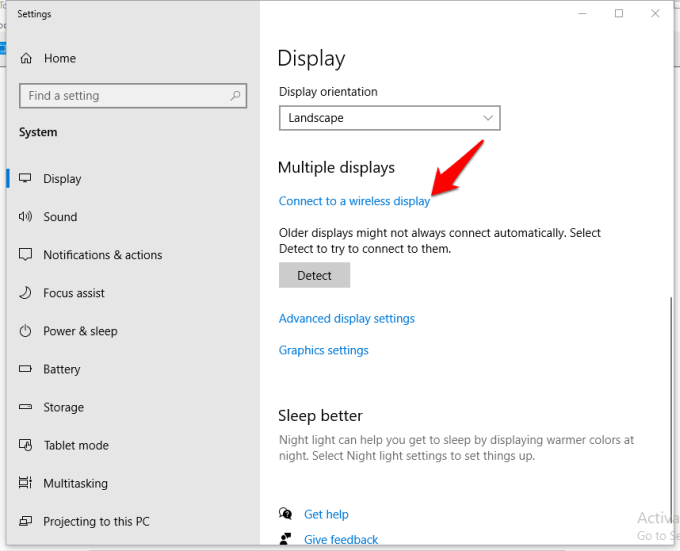
For a wireless monitor, click Connect to a wireless display under Multiple Displays.
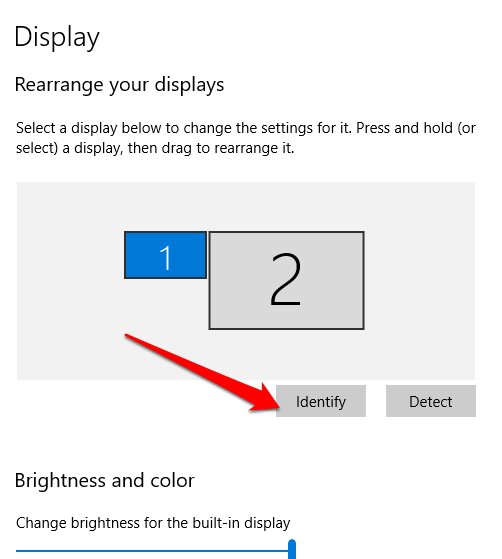
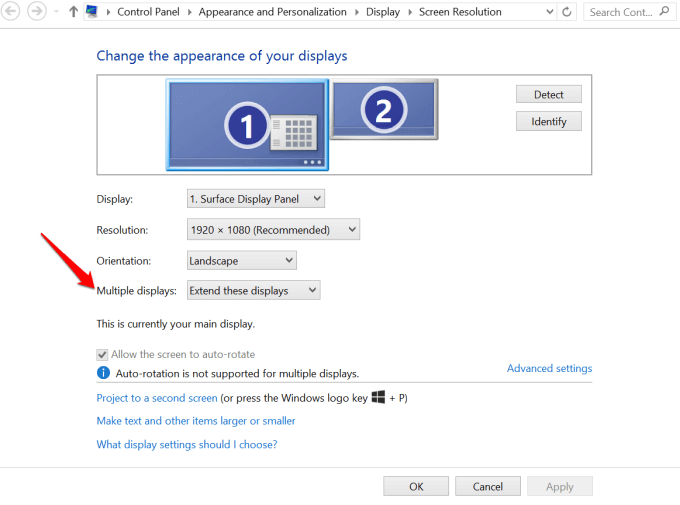
A wireless monitor allows your PC or mobile device with Miracast capability to display our screen’s image to your monitor via a WiFi Direct interface. You can duplicate or extend your desktop wirelessly to the monitor and connect your mobile device through Dual Cast via WiFi (depending on your devices). You can also choose the monitor order by clicking Identify. Windows will display number 1 and 2 on each screen, so this helps you know which one is which.
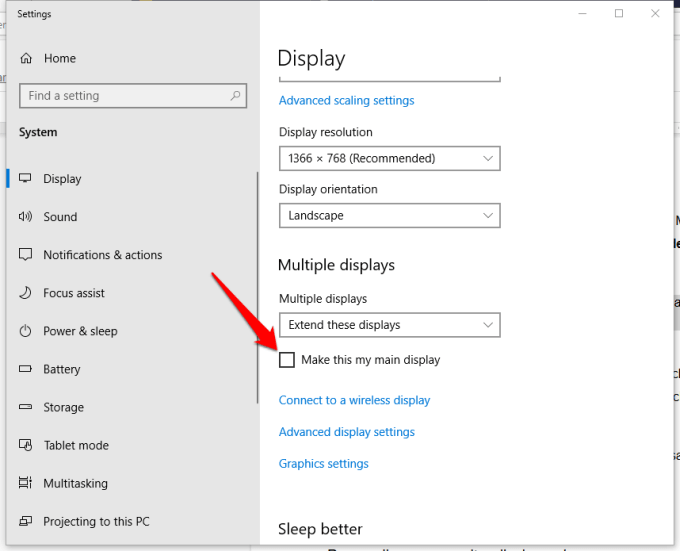
If you want your PC to be your primary screen, go back to the Multiple Displays section and check the Make this my main display box, or Use this device as the primary monitor.
Note: The primary/main screen will have your Start menu, clock, taskbar and other applications, but you can have them on both screens by right-clicking your Windows taskbar > Properties > Show taskbar on all displays.
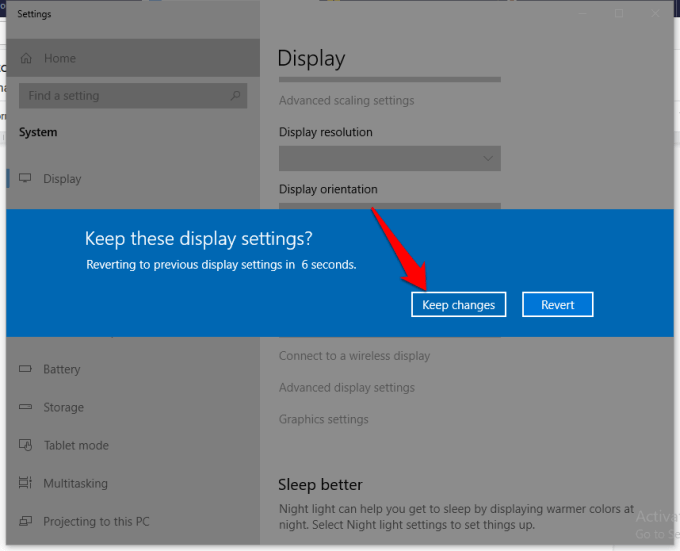
Adjust the screen orientation and resolution accordingly, and save the new display settings by selecting Keep Changes.
Personalize Your Monitor Display Order
Once the second monitor is connected and the display is attached, you can enhance and personalize it. There are different things you can do here including:
Showing the Start screen only on your PC and not the second monitor.Setting taskbar preferences (right-click Taskbar > Settings > Taskbar preferences).Personalizing your background image (right-click Desktop > Personalize and select images, themes or colors).
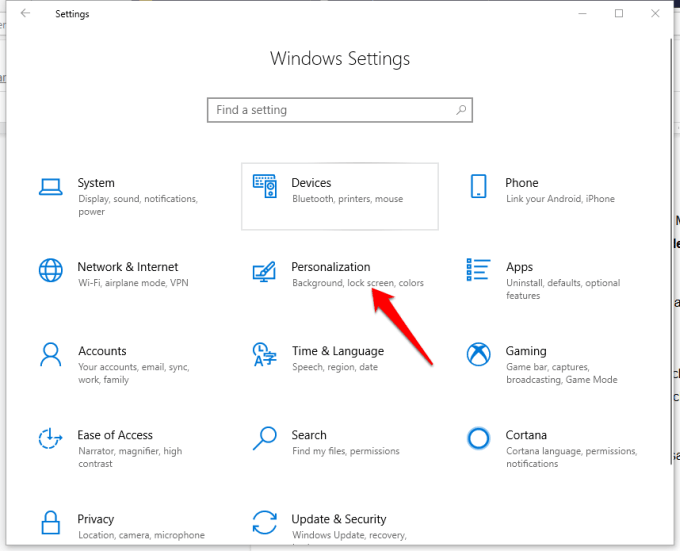
Note: Windows 10 has a new panoramic theme that allows you to span a panoramic picture across monitors. To do this, click Start > Settings > Personalization. Click Browse to choose a panoramic image. Click Choose a fit > Span, and you’re all set.
How To Use Dual Monitors In Windows 8 & 7
You can setup dual monitors if you’re using Windows 8 or 7. The steps may vary slightly from those in Windows 10, but ultimately you’ll still be able to setup dual monitors.
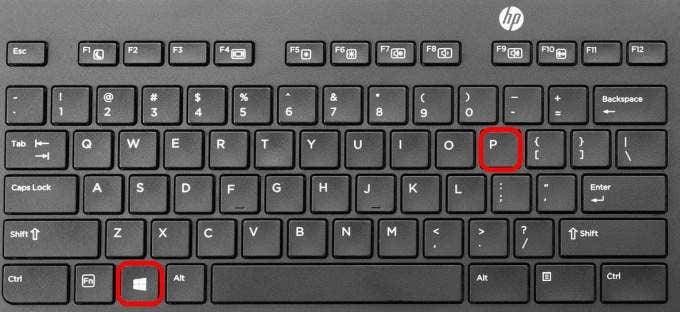
Make sure the PC and monitor are connected, and then press Windows Key+P on your keyboard.
Choose from the four options: Computer only, Duplicate, Extend, Projector only.
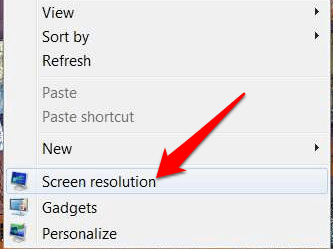
Right-click on your desktop and select Screen Resolution.
Click Multiple displays and then click either Duplicate or Extend to show the same image on both screens, or extend your desktop across the two devices. If you can’t see your monitor, click Detect.
Make the displays match if they’re not of the same make and model by right-clicking your desktop and selecting Display Settings. Go to Select and rearrange displays and try to match the orientation of the monitors on your desktop. You can do this by clicking and dragging the rectangles around to match until they line up properly.
Setup Dual Monitors Using a Docking Station
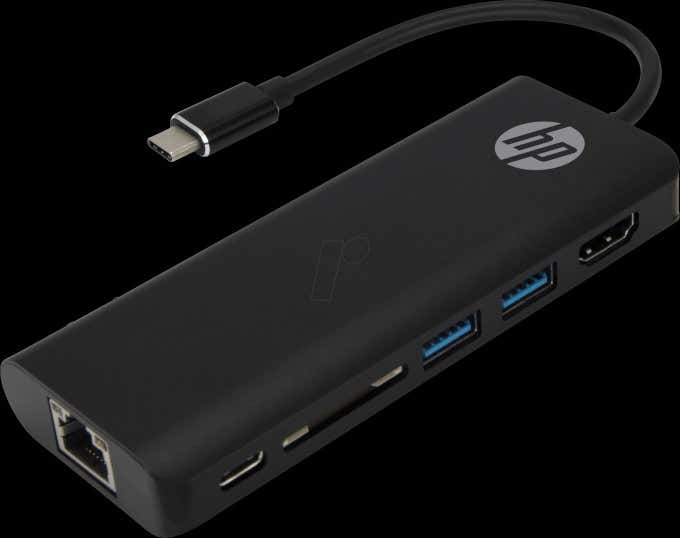
A docking station offers a simple way of connecting multiple peripherals like your mouse, keyboard, external hard drives, printer and external monitors to your PC. It’s more of a port replicator as it provides more ports, which your PC doesn’t readily offer owing to its limited connectivity ports. Most docking stations can connect multiple monitors as they have more video ports, and once you connect it to your PC, you can switch its screen off and use your monitor instead.
Setup Dual Monitors Using a Casting Device
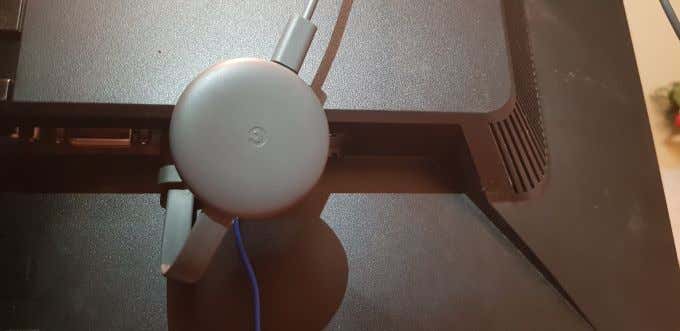
You can also duplicate your PC’s screen to a second monitor or display using a casting device like Google Chromecast. There are many cool things you can do with Google Chromecast including casting to dual monitors from a video player, music files or podcasts, your entire desktop or even browser tabs.
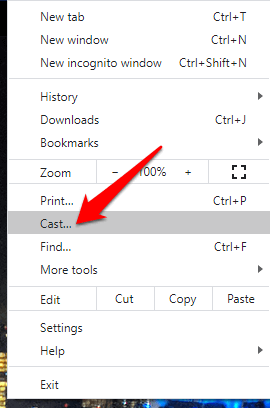
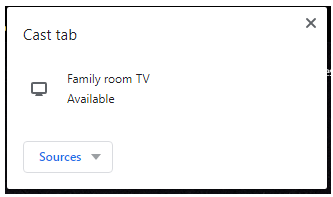
To cast your entire desktop, click on the Chromecast icon at the top right of your browser. We used Google Chrome for this guide, so go to the Settings menu (three dots) and click Cast.
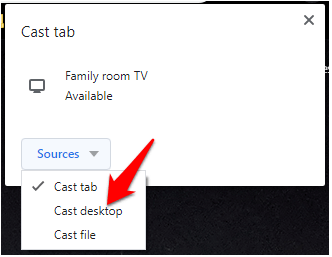
Click Sources just below the displays.
Click Cast Desktop and then click the screen you want. Since they’re two screens, you’ll have to choose the one you want to cast, and whether or not you’d like to cast audio as well.
Select your preferred options and then click Share. The screen will cast to your monitor via Chromecast, showing elements including the taskbar and more. However, this doesn’t mean you can move open programs or windows, or apps between the two screens.
Double Your Screen Space
Setting up dual monitors is a straightforward process in Windows, but there are different ways you can do it besides the default method on your PC. Were you able to set up dual monitors using the steps and methods listed above? Let us know by leaving a comment below.


