Here’s how you can print envelopes using Google Docs.
How to Print Envelopes Using Google Docs
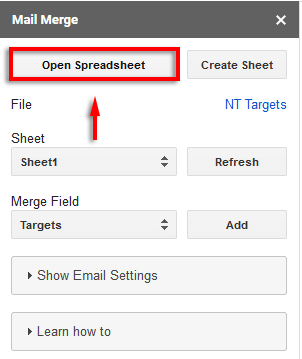
There are several envelope add-ons for Google Docs that enable you to create and print envelopes. For this tutorial, we will be using the Mail Merge add-on. Note: Mail Merge will enable you to perform 20 merges of up to 30 rows in their free trial.
Step 1: Open Your Document
Open a Google Docs document by going to the Google Docs web app (or smartphone app) and clicking New Google Doc.
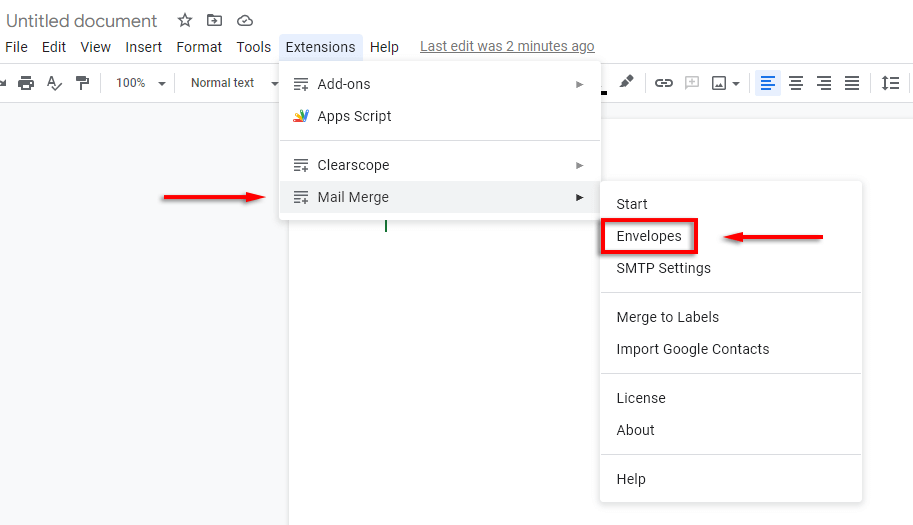
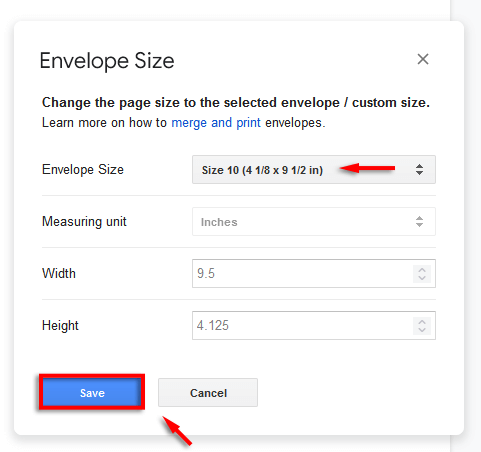
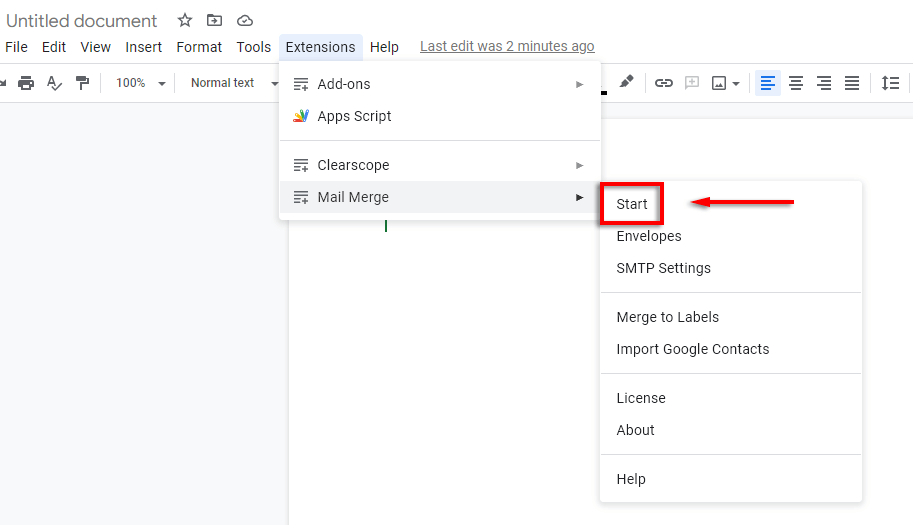
Step 2: Open Mail Merge and Choose Envelope Size
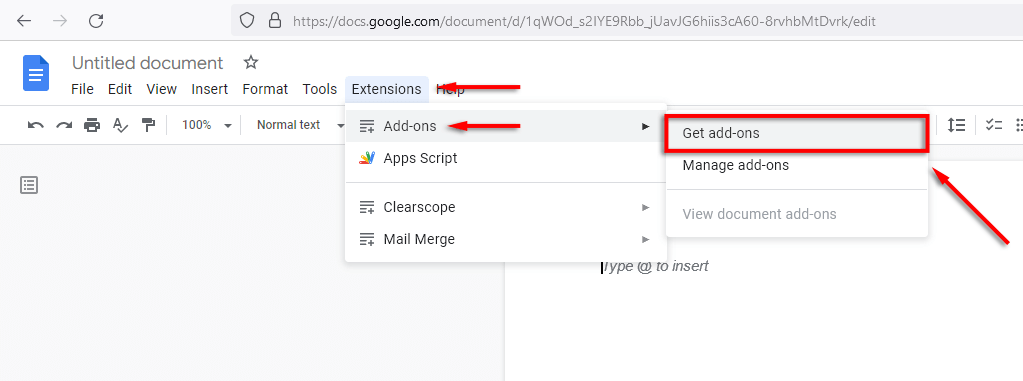
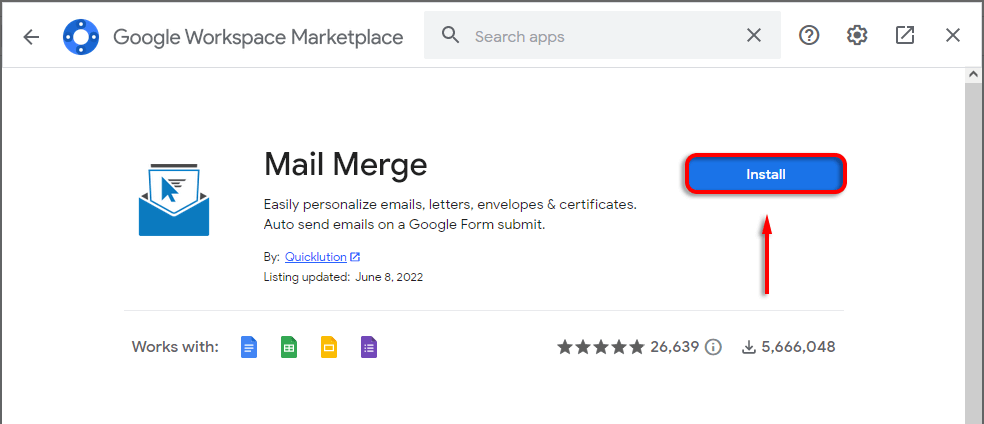
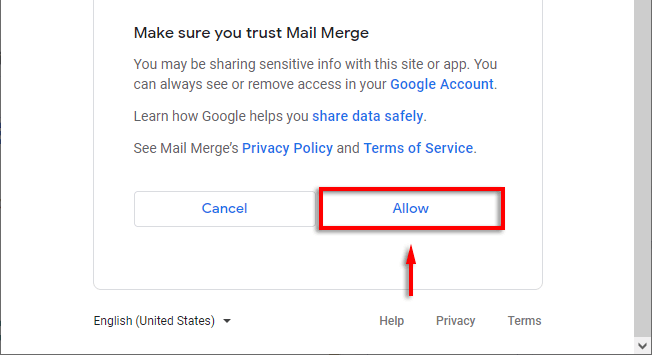
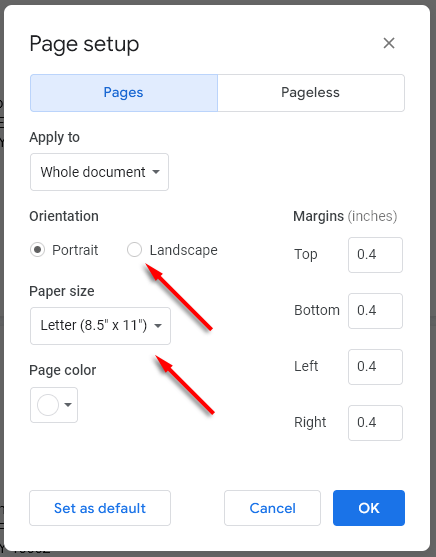
If you don’t have the Mail Merge add-on yet, you can install it with the following steps. If it’s already installed, skip to step 5. Note: If you can’t create an envelope template this way, select File > Page Setup. Here, you can set the Orientation and Paper size before moving to the next step.
Step 3: Customize Your Envelope
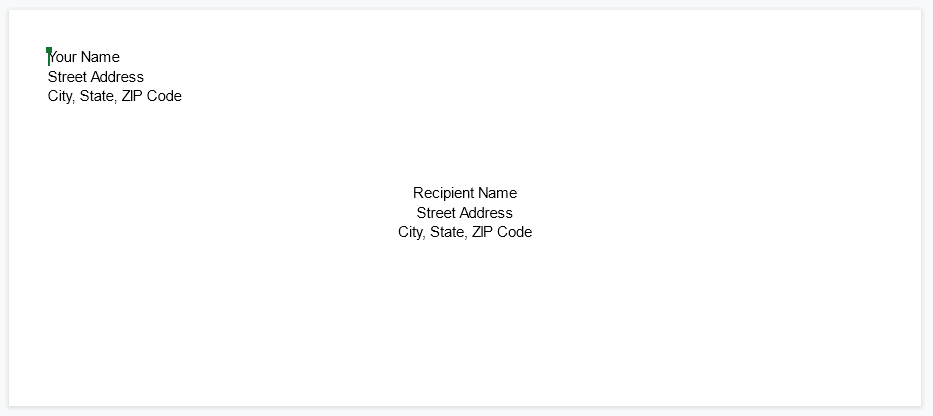
The next step is to edit your document to add the required fields, including the recipient’s address and your return address. To do so, use the Google Docs editing tools as you would in a normal document. For example: Note: Add custom fonts, colors, and branding to personalize your envelope.
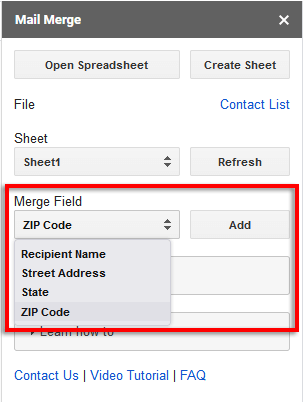
Step 4: Add Merge Fields
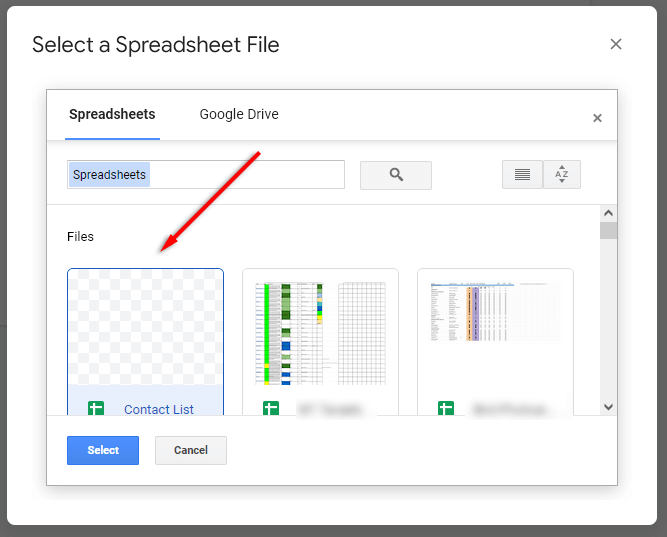
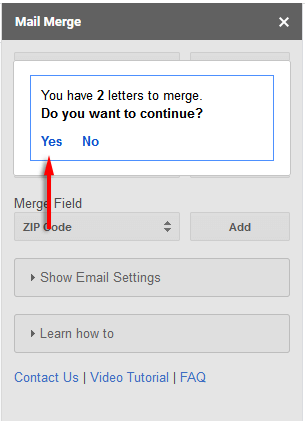
If you’re printing a series of envelopes from a mailing list, you can add merge fields to speed up the process by creating a Google Docs envelope template (rather than adding individual details to each envelope). To do so:
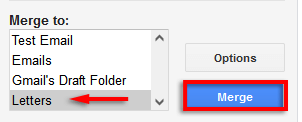
Step 5: Open the New Document and Print
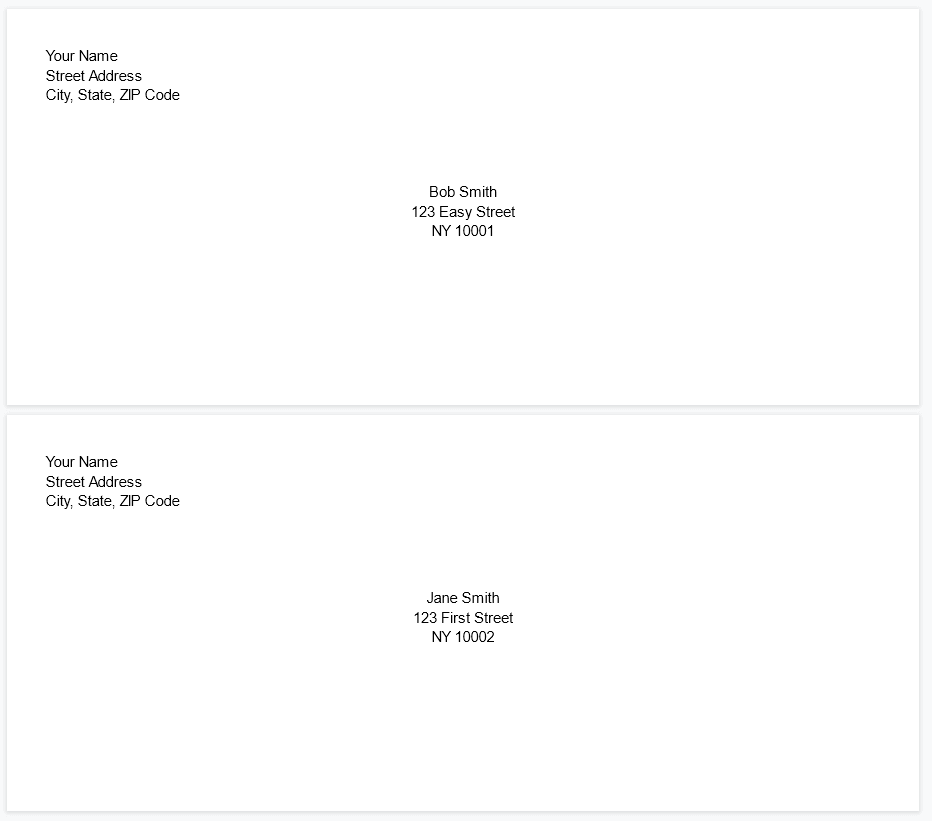
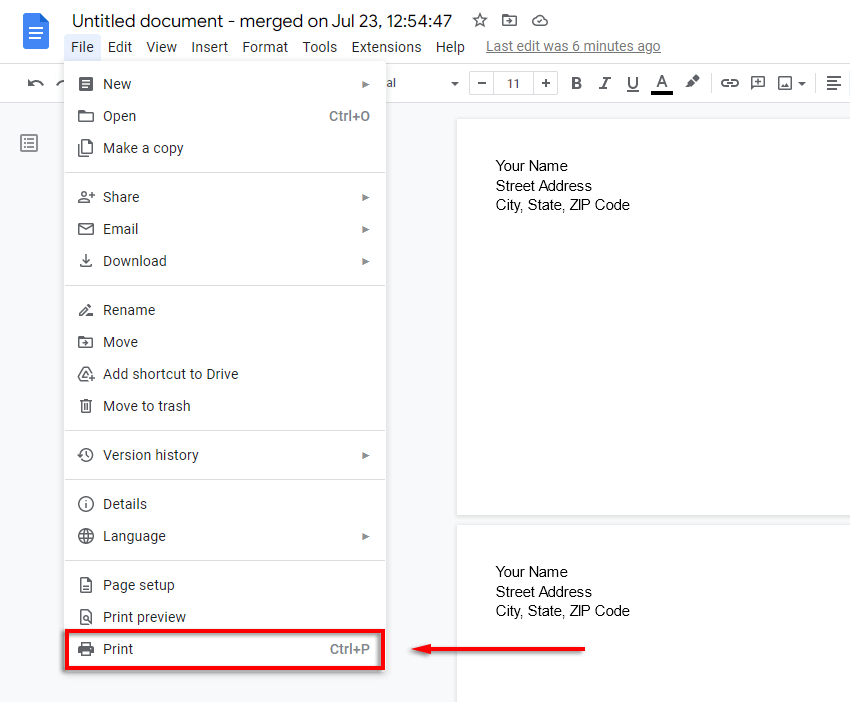
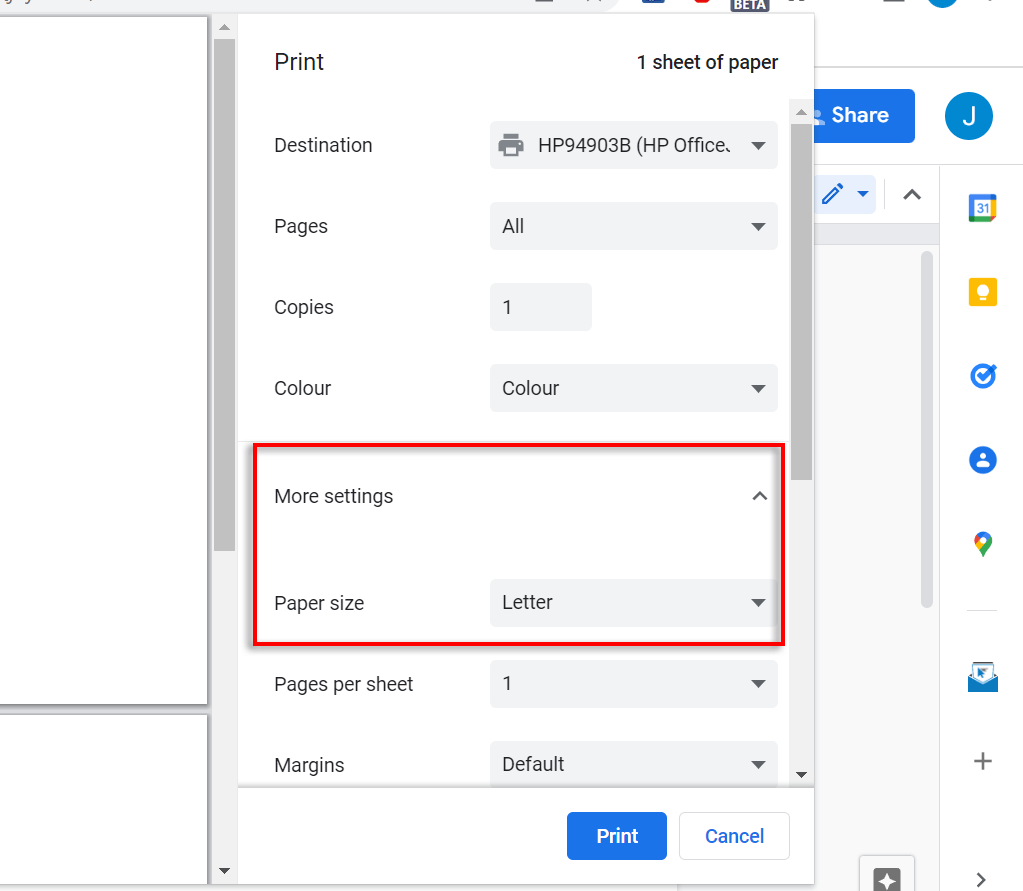
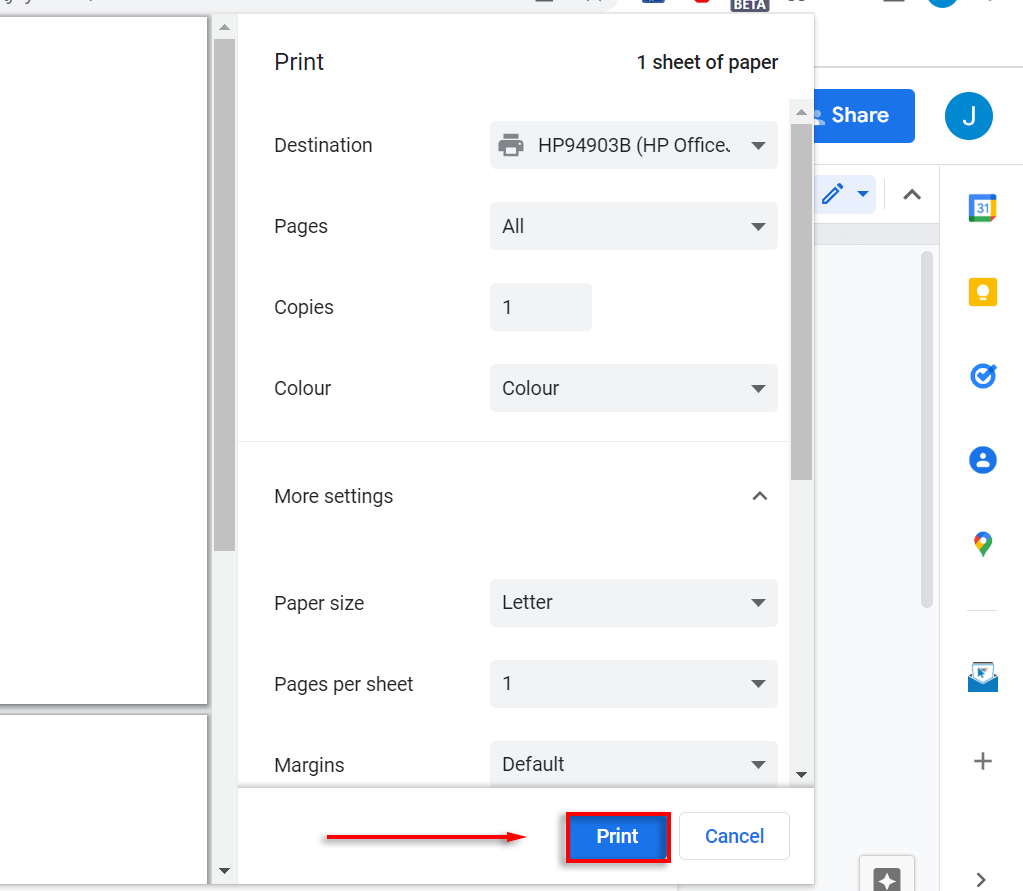
Once the process is completed, open the envelope document. This will show all of your newly created envelopes in a list. Double-check that everything is formatted correctly. If so, it’s time to print:
Sending Mail Has Never Been Easier
With this tutorial, you should be able to easily print as many envelopes as you would like. We used Mail Merge as it’s one of the most popular and well-known Google Docs add-ons. However, there are plenty of free options if you use the free trial and find the pricing too steep.

