In this Premiere Pro tutorial, we’ll show you two different ways to use a fade-in/out animation. First with an element such as text or a logo, and then on a clip to use it as a transition. Both are very simple and shouldn’t take long to do if you have a basic understanding of Adobe Premiere. If not, try reading our introductory article on Adobe Premiere Pro CC first, as well as our article on using keyframes.
How to Fade Text Or a Logo In or Out
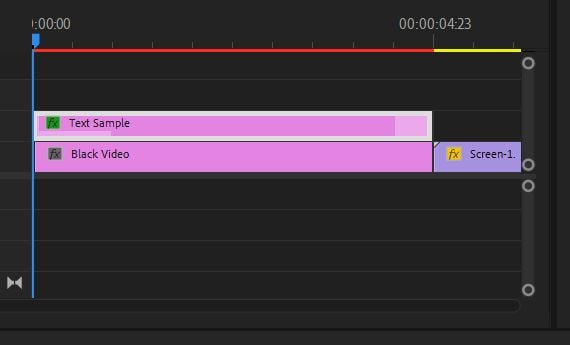
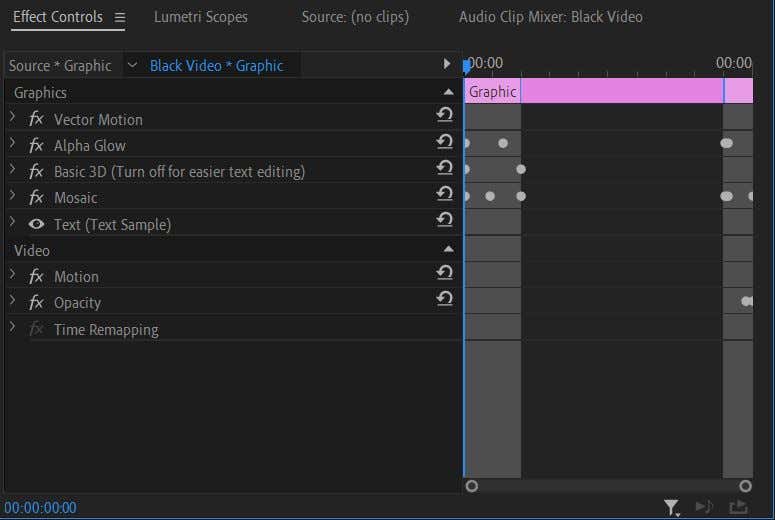
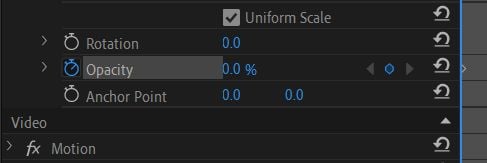
If you want to use this effect when you introduce text or your own logo, you’ll have to use the Effect Controls panel. First, make sure you’ve added in your logo or add text from the Essential Graphics panel. 2. Open the Effect Controls panel. 3. If you’ve added a logo image, open the Opacity dropdown here. If you’re using text from Essential Graphics, look under the Text dropdown and find Opacity. 4. Make sure the timeline cursor is at the beginning of the chosen clip of your text/logo. 5. Using the Opacity value, set it to 0. Click on the stopwatch to set a keyframe. 6. Move the timeline cursor to the point in the clip where you want the text/logo to be visible. 7. Set the Opacity value back to 100. A second keyframe will automatically be set. 8. Play the video to preview the animation and see if you like the speed. To change the speed of the animation, simply move the second keyframe closer or further from the first. Further will slow it down, while closer will speed it up. Keep in mind that if you click on the stopwatch again after turning it on, you’ll turn it off and Premiere will delete your keyframes. Keyframes are set automatically whenever you change the value of the Opacity, or you can click on the diamond icon to the right of it to set or delete them yourself. You can use the gray arrows to move between keyframes.
How to Make a Fade In or Out With a Transition Effect
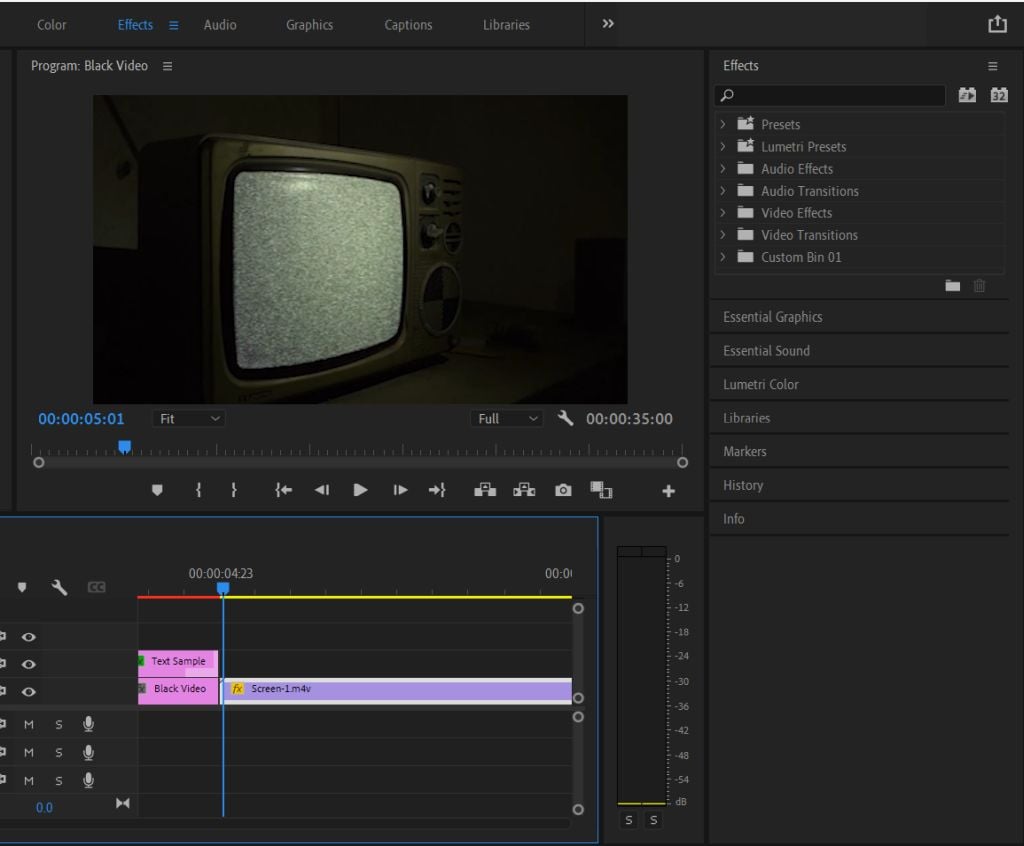
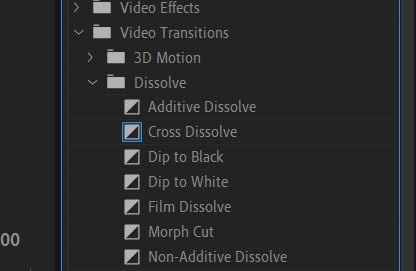
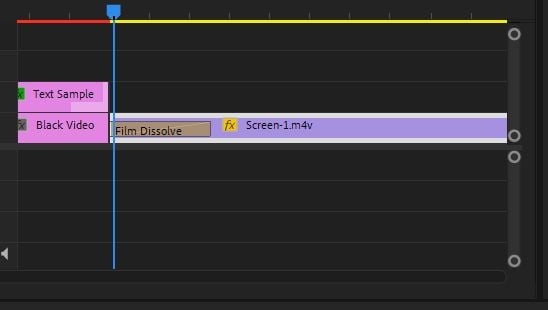
If you want to use the fade in/out technique as a transition effect for your video clips, you can do this as well. You can technically do it the same way as fading text or a logo, but there’s an easier method that involves using a dissolve-like effect and then customizing it. 3. Go to Video Transitions > Dissolve. 4. Try out the Dip to Black or the Film Dissolve transition. Drag and drop it onto your clip, either at the beginning to fade in or at the end to fade out. 5. You can click on the added effect on the clip to alter where it begins and the speed of the animation. This method works best if you just want a simple fade-in/out effect. However, if you want more control over animation, using the above method for text/logos would be the better option. Then you can change the value of the opacity and timing exactly as you wish. Another way you can do a fade animation is a Crossfade, if you want to fade out of one clip and fade into another. Just add the Film Dissolve effect to both the end of the clip you want to fade out of, and the beginning of the clip you’re fading into. To remove a fade in/out, click on the effect on the clip and hit backspace on your keyboard. Or, right-click on it and select Clear.
When to Use Fade In or Out Animations
Fading in or out can be more of a dramatic effect. You can add it when you’ve finished a scene or ended a video entirely. It’s also great for logos or to transition text on-screen. If you’re using it as a transition, it’s best not to over-use this effect as it can get tiresome quickly if used too much. Instead, stick to fade in/out where you want to emphasize a beginning or end of a clip. If you have audio with the clip, a nice addition to the fade effect can be to do an audio fade along with the video.
Use a Fade In or Out Animation In Your Next Video
Now that you know how to apply this effect, try it out in your next video project to make it engaging and professional. It’s a common yet simple effect used in many videos and a great step to learn about transitions for beginners. If you experiment with it, you can see the many ways to use it.

